Home Assistant and ZWaveJS UI
Home Assistant
Home Assistant is a Free and Open Source Home Automation solution. This thing can connect to basically any smart home device you can think of. Use it and love it.
- This package is in
./optional-services/home-automationand not accessible from the root docker compose. - You can access zwavejsui and homeassistant with a script:
./scripts/hassio.sh
- This will spin up both containers.
- Make sure you copy the
./optional-services/home-automation/.env-exampleinto a.envfile and modify the zwavejs stick ID, and UID/GID, and Timezone variables.
- Just Home Assistant Commands
| Type | Command |
|---|---|
| Start | docker compose up homeassistant -d |
| Shutdown | docker compose down homeassistant |
- Once started, Home Assistant should be hit from this url:
| URL | |
|---|---|
| Non-SSL | http://localhost:8123 |
| Image | linuxserver/homeassistant |
Home Assistant Example Docker Compose
services:
  ################### Home Automation #######################
  homeassistant:
    image: lscr.io/linuxserver/homeassistant:latest
    container_name: ${HOME_ASSISTANT_CONTAINER_NAME}
    # network_mode: host
    environment:
      - PUID=${UID}
      - PGID=${GID}
      - TZ=${TIMEZONE}
    env_file:
      - ./.env
      - ../../.env
    privileged: true
    volumes:
      - ${DEFAULT_CONTAINER_DATA_LOCATION}/HomeAssistant:/config
    ports:
      - ${HOME_ASSISTANT_HOST_PORT}:8123 #optional
    # devices: # use if you have a usb dongle for zwave/zigbee/matter or a harddrive or something
    #   - /path/to/device:/path/to/device #optional
    restart: unless-stopped
    labels:
      - "traefik.enable=true"
      - "traefik.http.routers.${HOME_ASSISTANT_CONTAINER_NAME}.rule=Host(`${HOME_ASSISTANT_CONTAINER_NAME}.${PROJECT_HOSTNAME}`)"
      - "traefik.http.routers.${HOME_ASSISTANT_CONTAINER_NAME}.entrypoints=https"
      - "traefik.http.routers.${HOME_ASSISTANT_CONTAINER_NAME}.tls=true"
      - "traefik.http.services.${HOME_ASSISTANT_CONTAINER_NAME}.loadbalancer.server.port=${HOME_ASSISTANT_HOST_PORT}"
      ###### FOR SSO-  SUPPORTED BY AUTHENTIK - https://docs.goauthentik.io/integrations/services/home-assistant/
    networks:
      - zwave
    # depends_on:
    #   - zwavejs
    profiles:
      - homeAutomation
      - all
      - homeassistant
Homeassistant Example .env file
HOME_ASSISTANT_CONTAINER_NAME="homeassistant"
HOME_ASSISTANT_HOST_PORT="8123"
ZWaveJS (ZWave2MQTT)
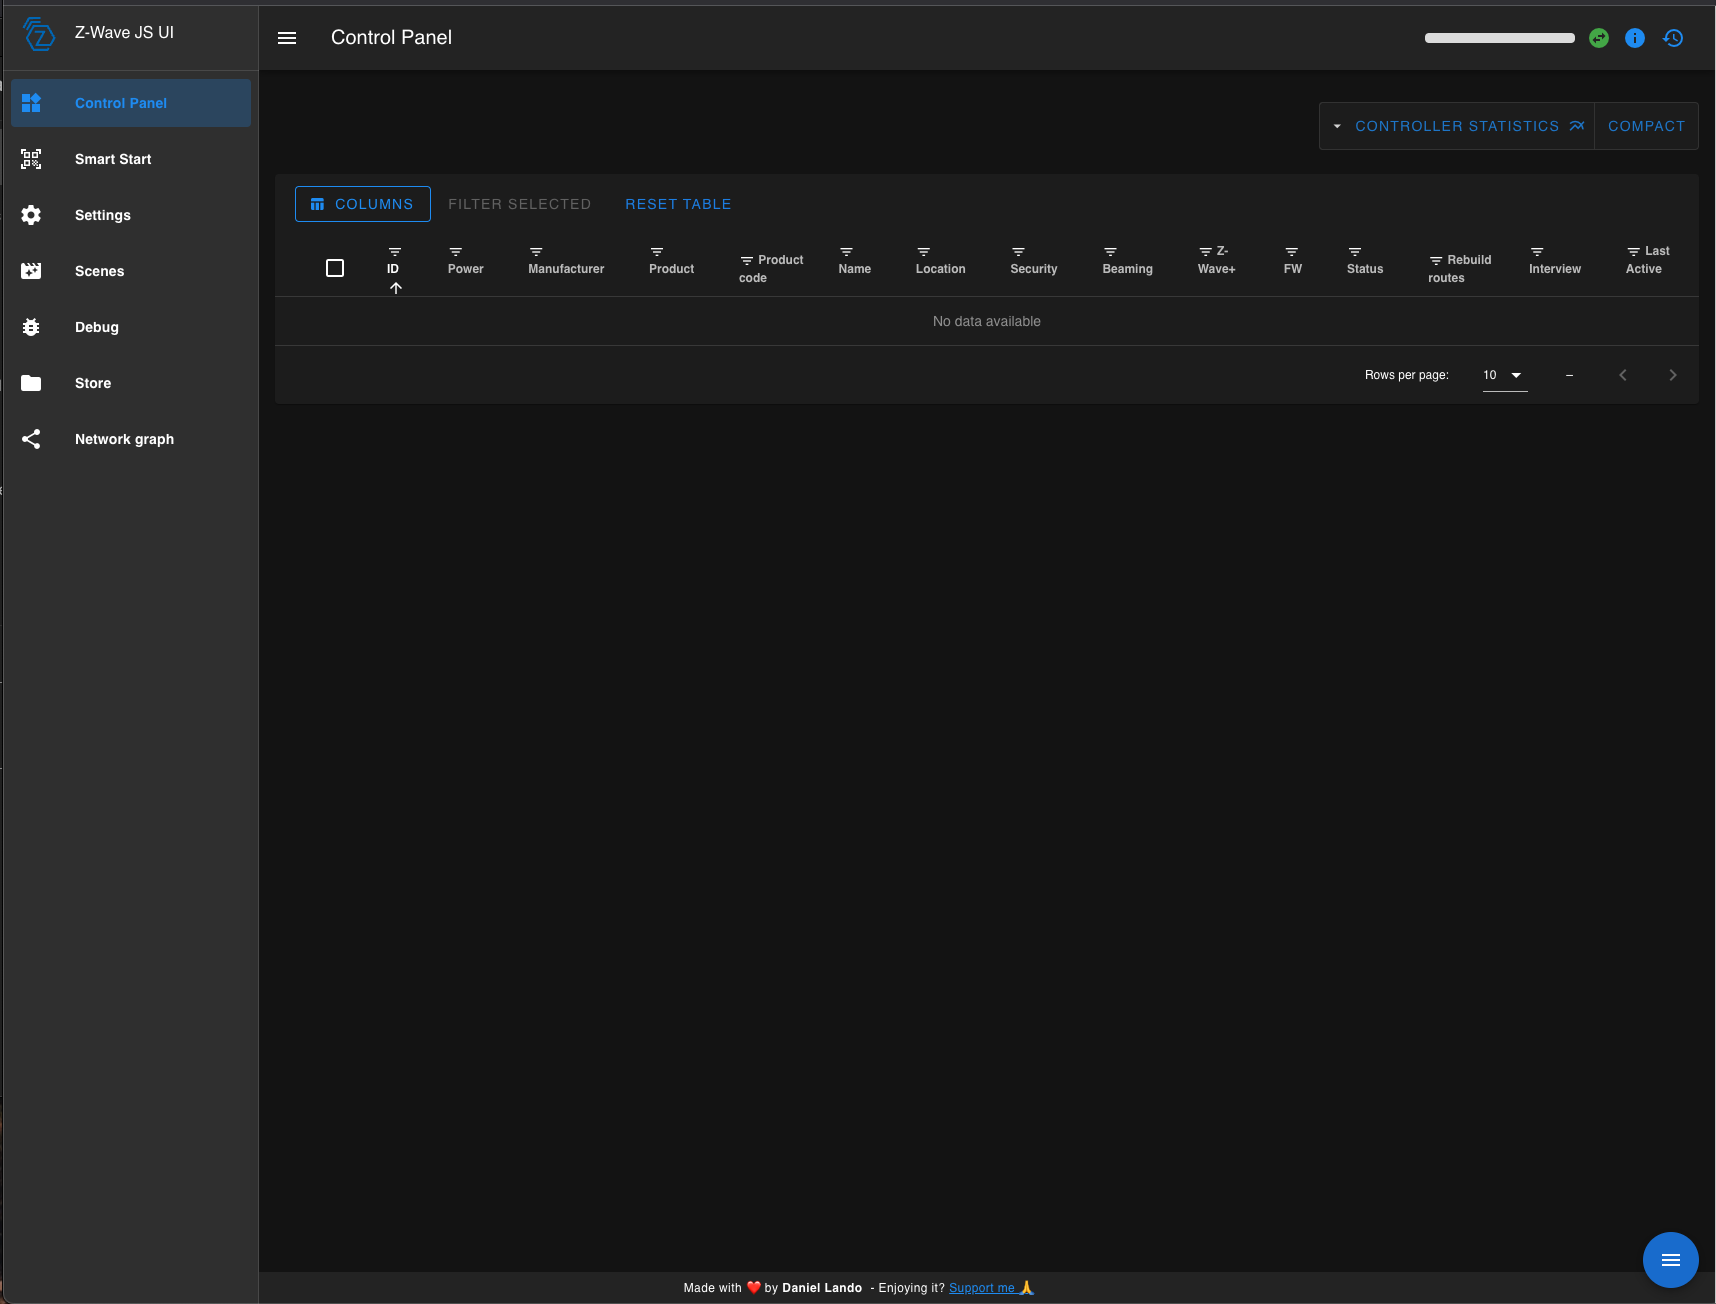
This is a robust UI that ships with HomeAssistant. It is not required to use HA, but it will install when you run the home assistant install commands listed above unless commented out. This UI allows you to connect a USB dongle for zwave or zigbee devices to your host machine and communicate with that closed mesh network via this UI for better device management. Since this communicates with Home Assistant over the docker network, the latency is >1ms per call and it is very fast to use. There is a bare metal option for this, but I would shy against that as an option as you will deal with higher network latency from device to device communication.
- Do not use
/dev/ttyUSBXserial devices, as those mappings can change over time. - Instead, use the
/dev/serial/by-id/Xserial device for your Z-Wave stick.
- Just ZwaveJS Commands
| Type | Command |
|---|---|
| Start | docker compose up zwavejs -d |
| Shutdown | docker compose down zwavejs |
- Once started, ZWaveJS should be hit from this url:
| URL | |
|---|---|
| Non-SSL | http://localhost:8091 |
| Image | zwavejs/zwave-js-ui |
| Official Docs | Documentation |
ZwaveJS Example Docker Compose
services:
  zwavejs:
    container_name: ${ZWAVE_JS_CONTAINER_NAME}
    image: zwavejs/zwave-js-ui:latest
    restart: unless-stopped
    tty: true
    stop_signal: SIGINT
    privileged: true
    env_file:
      - ./.env
      - ../../.env
    environment:
      - SESSION_SECRET="|_yTXKTh4~eMs17IQ+[95|KTl6EEk6"
      # - ZWAVEJS_EXTERNAL_CONFIG=/usr/src/app/store/.config-db
      # Uncomment if you want log times and dates to match your timezone instead of UTC
      # Available at https://en.wikipedia.org/wiki/List_of_tz_database_time_zones
      - TZ=${TIMEZONE}
    #network_mode: host
    networks:
      - zwave
    devices:
      # Do not use /dev/ttyUSBX serial devices, as those mappings can change over time.
      # Instead, use the /dev/serial/by-id/X serial device for your Z-Wave stick.
      - "${ZWAVE_STICK_DEVICE_PATH}:/dev/zwave"
    volumes:
      - ${DEFAULT_CONTAINER_DATA_LOCATION}/ZwaveJS:/usr/src/app/store
    ports:
      - "${ZWAVE_JS_UI_HOST_PORT}:8091" # port for web interface
      - "${ZWAVE_JS_WS_HOST_PORT}:3000" # port for Z-Wave JS websocket server
    profiles:
      - all
      - homeAutomation
      - zwavejs
ZwaveJS Example .env file
## ZWAVE2MQTT (ZWAVEJS)
ZWAVE_JS_CONTAINER_NAME="zwavejs"
ZWAVE_STICK_DEVICE_PATH="/path/to/usb" #CHANGE_ME
# ZWAVE_STICK_DEVICE_PATH="/dev/cu.usbserial-533D0042421"
ZWAVE_JS_UI_HOST_PORT="8091"
ZWAVE_JS_WS_HOST_PORT="3000"
Troubleshooting ZWaveJS UI
This is a very straightforward UI but I ran into a few things when using this that may be beneficial to know.
Infinite Loop Contact Sensor Being added
I had to ultimately factory reset the contact sensor for the loop to stop.
Removing failed false nodes
In order to do this, I ended up finding a comment that helps from the HA community
As it turns out this is possible :slight_smile: I installed the Z-Wave JS to MQTT Supervisor addon and have it running in control panel only mode. This is done by toggling “Disable MQTT Gateway” in the settings for the add-on itself. Once that was set I was able to select a Dead device in the Z-Wave JS to MQTT Control Panel, click advanced and then under “Failed Nodes” click Remove.
Adding S2 Nodes (QR Code)
I haven't gotten this to work with my camera. So I scan the QR Code and manually add it as text input on the UI (the QR code is a long string of numbers like this 900111178002544233880632986416460002914054548530552300100179303078022000838005130076900271). Encased in that is a device ID.
Adding Ring Door Sensors
These are put in inclusion mode by removing the battery cover, then pressing the reset button (paper clip) and the front button at the same time - this is not Classic Inclusion. Classic inclusion is insecure.
- In order to add a Ring node securely, use the QR code text code and manually include it on the
Provisioning Entriespage. - Then put it in inclusion mode (secure).
- ZwaveJS UI should pick it up.
- You may have to re-interview it to get the node to report all of its entities properly once it is added.
Zigbee2MQTT
Like ZwaveJS UI, this runs similarly, if not almost exactly the same, but for zigbee devices to keep them modular in the setup, and not fully dependent on home assistant to manage the devices.
- This package is in
./optional-services/home-automationand not accessible from the root docker compose. - You can access zigbee2mqtt with a script:
./scripts/hassio.sh
- This will spin up both containers.
- Make sure you copy the
./optional-services/home-automation/.env-exampleinto a.envfile and modify the zwavejs stick ID, and UID/GID, and Timezone variables.
- Same warning as Zwave above:
- Do not use
/dev/ttyUSBXserial devices, as those mappings can change over time. - Instead, use the
/dev/serial/by-id/Xserial device for your Z-Wave stick.
- Just Zigbee2Mqtt Commands
- Be sure to
cd ./optional-services/home-automationbefore running the commands below.
| Type | Command |
|---|---|
| Start | docker compose up zigbee2mqtt -d |
| Shutdown | docker compose down zigbee2mqtt |
- Once started, Zigbee2MQTT should be hit from this url:
| URL | |
|---|---|
| Non-SSL | http://localhost:38080 (default port is 8080, but we changed it here |
| Official Docs | Documentation - Docker |
Example Home Assistant Docker Compose with Zigbee2MQTT
services:
  zigbee2mqtt:
    container_name: ${ZIGBEE2MQTT_CONTAINER_NAME}
    image: koenkk/zigbee2mqtt
    restart: unless-stopped
    volumes:
      - ${DEFAULT_CONTAINER_DATA_LOCATION}/Zigbee2MQTT:/app/data
      - /run/udev:/run/udev:ro
    ports:
      # Frontend port
      - ${ZIGBEE2MQTT_HOST_PORT}:8080
    env_file:
      - ./.env
      - ../../.env
    environment:
      - TZ=${TIMEZONE}
    profiles:
      - zigbee2mqtt
      - homeAutomation
      - all
    devices:
      # Make sure this matched your adapter location
      - ${ZIGBEE_STICK_DEVICE_PATH:-/path/to/device}:/dev/ttyACM0
Zigbee2MQTT Example .env file
## Zigbee2MQTT (Zigbee)

ZIGBEE2MQTT_CONTAINER_NAME="zigbee2mqtt"
ZIGBEE2MQTT_HOST_PORT="38080"
ZIGBEE_STICK_DEVICE_PATH="/path/to/usb"
#ZIGBEE_STICK_DEVICE_PATH="/dev/serial/by-id/usb-Texas_Instruments_TI_CC2531_USB_CDC\_\_\_0X00124B0018ED3DDF-if00"